Monday, November 30, 2009

Kimchi From Scratch and Kimchi Pancakes


After days and days of reinterpreted turkey dishes, I was craving some veggies. Preferably of the spicy and pickled variety. I bought this napa cabbage from one of two Chinese vendors at the Zelony Bazaar (Green Market) last week. These vendors have changed my life. Not only did they have napa, they had bok choi. They even had fresh tofu that was still warm! Wood ear mushrooms (I think.....). Sweet potatoes! And I've heard rumors that if you get to them early enough you can find broccoli, too.


After washing the cabbage, I began by chopping the large head of napa cabbage into quarters, and then into 1 inch slices.


I grabbed some salt.


And measured out 1/2 cup. Don't let this scare you off. You are not going to be ingesting a lifetime supply of salt in one sitting.

The purpose is to evenly spread the salt, in layers, over the cabbage to pull the water out. So, I layered-- a little bit of salt, a little bit of cabbage, a little bit of salt, a little bit of cabbage, until I ran out of both.


Once you top off your bowl, let the salted cabbage sit for two hours. You'll see that the volume reduces by nearly half and there's a cup or two of released water in the bottom. Discard the water.

Now an important step: rinse the salt off the cabbage. Here in Dushanbe, we don't dare use the tap water, so I resorted to rinsing with bottled water about four times.


Now onto the yummy stuff. I consulted a few recipes, including this one here and adapted according to my taste and what I had on hand.

In a separate bowl, I mixed a bunch of chopped green onions, 2 T minced garlic, 1 T minced ginger, 1 T sugar, about 1/4 cup soy sauce and about 2 T red pepper flakes that I ground in the coffee grinder to a course grind. Then I poured that mixture into the wilted cabbage.


Then I mixed thoroughly and tried to wait to eat it.


Which didn't happen. I enjoyed this bowl immediately. And it was good.


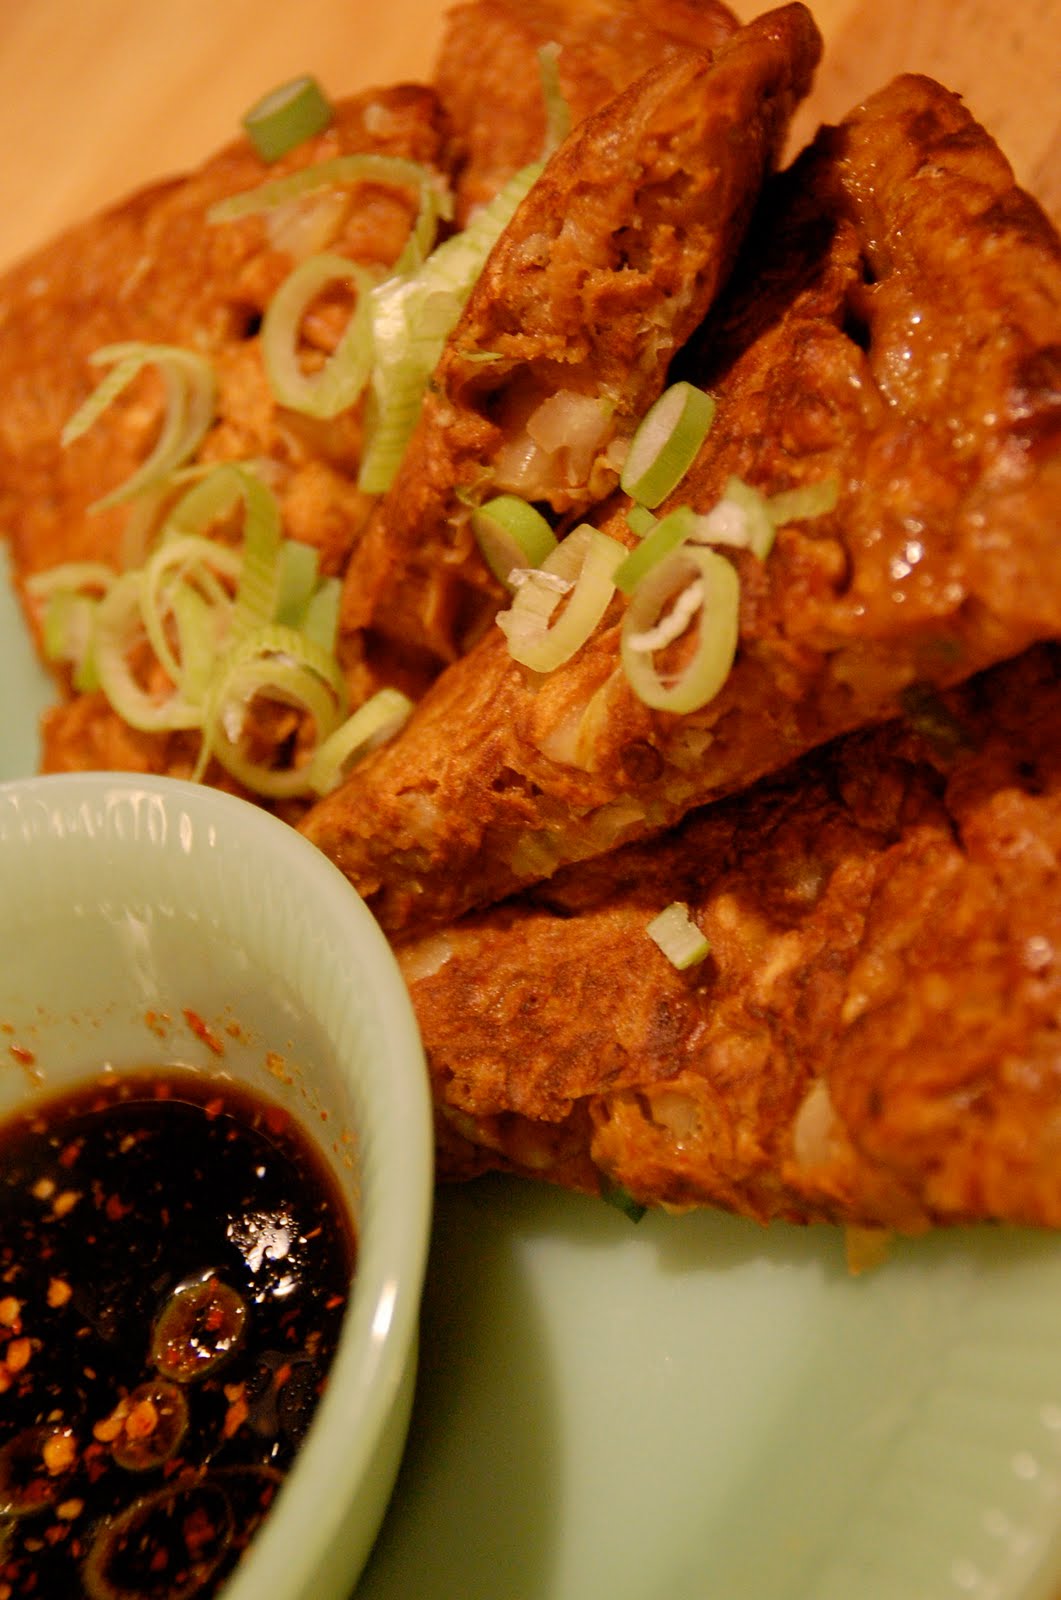
But, later that day I whipped up one of these, exactly as the recipe stated, and it was delicious!


But perhaps not the best dinner to have before kickboxing class......


Friday, November 27, 2009

Expat Baking Tip #4: Quick Room Temp Butter


My husband just had his birthday two days before Thanksgiving. I love when he has his birthday because it means we are now the same age. For some reason, that makes me feel less old.

I was determined to make this chocolate cake with peanut butter frosting from Smitten Kitten. If you are unfamiliar with her website, Deb's an amazing cook and photographer. You'll be hooked. I decided last minute not to make the chocolate peanut butter topping, choosing to keep my stash of good chocolate and peanut butter for other celebrations.

Making said birthday cake was fraught with near misses.

Has this ever happened to you? You are in the middle of making frosting for your husband's birthday cake and you discover that not only do you not have enough powdered sugar to frost his cake, but the 4 ounces of butter that you need is sitting in the freezer and the recipe specifically asks for room temp butter? And because you are making this cake on the sly on a Saturday morning, you have a limited amount of time to get this done?


I've never been very good about getting all my ingredients lined up in a row, at the ready. In making the peanut butter frosting, I had the cream cheese coming to room temperature. Ten ounces room temperature cream cheese. Check.


But when I measured out the powdered sugar, I realized I was two cups short. So I made my own powdered sugar from scratch. This was the first time making it, and it was a perfect substitute. Five cups powdered sugar. Check.


Next on the list was the butter, meant to be at room temp in order to be creamed with the room temp cream cheese. The problem was that the butter was still in the fridge....in a very cold fridge. Four ounces room temp butter. No check.


I've read before that grating frozen or very cold butter into flour when making a pie crust or biscuits helps to distribute the butter well in lieu of using a pastry cutter. While I wasn't making a pie crust, I thought the same technique would work to quickly soften it. Armed with my trusty box grater, I went to work.


I added the room temperature cream cheese and the grated butter into my food processor.


And the test began. Would they cream together?

Yes! It worked!


After adding the five cups of powdered sugar, I glopped in 2/3 cup of peanut butter.

The result was so perfect. Just the right consistency for frosting.


I made the three tiered chocolate cake over the weekend while Paul was out of the house for a chunk of time. I quickly froze the layers before he got home so he wouldn't catch on that I was making him a cake. Plus, freezing the cake layers is supposed to keep the crumb to frosting ratio to a minimum.

Out of the freezer came the layers.


While still frozen, I frosted the first layer.


Then the second layer.


And finally the top layer.

The anti-crumb freezing of the cake didn't work as well as I hoped, but let me tell you, the cake tasted out of this world. In retrospect, I should have trimmed the cake before frosting.

But in the end, another year of life was celebrated amongst family with perhaps the most delicious cake in the world. Well, at least this side of Dushanbe.


Tuesday, November 24, 2009

Expat Baking Tip #3: Powdered Sugar


Being that it's somebody's 41st birthday and all, I pulled out the three layers of ultra chocolate cake that I secretly baked over the weekend from the freezer and set my sights on making the cream cheese peanut butter frosting to go with it. After having a similar cake that my friend Alanna made for her husband's fairly recent birthday, I vowed I would go the same route. I recall rudely slicing just-one-more slivers until the gracious host had to slap my hand and put the cake at the other end of the table. It was that good.

So I measured out the five cups of powdered sugar, but quickly realized I was two cups shy.


I've recently had success with making brown sugar from scratch so I was eager to try making from scratch powdered sugar, too. After a bit of research, I decided that using a coffee grinder would be the best tool to really get the sugar to a fine ground. And unlike the powdered sugar from the US, I opted to not use cornstarch since I figured that I wasn't storing it for any length of time.

So I measured out 2 cups of regular sugar.


I then got out my trusty grinder (thank you, Shannon!!). After a few seconds of whizzing, I dumped the sugar out and repeated until I had my two cups worth.


Can you tell the difference?


The batch on the left is my powdered sugar from scratch. The right is from a bag that's been opened as sealed well for about 9 months now.

And yet another successful expat substitute. And a good-to-know tip for those of you who just simply run out and can't make it to the store.

Happy baking!

Thursday, November 12, 2009

Expat What-to-Bring Tip #1

Living in Dushanbe means we struggle with utilities. Or lack thereof. It's a given. From lights to gas to water, its a really good day when you have all three. We've installed a second electrical line which gives us a glimmer of hope that we won't be subject to as many electrical cut offs in February as we were last year. As it was, we had lights for roughly six hours per day - three in the morning and three in the evening.

We are now trying to install a second city gas line, which really is the only way to heat the house. We haven't had city gas since last February so we hope the new line will be installed before the really cold temps hit us.

If you happen live in a country where you can't buy electric blankets, and even if you could you wouldn't because you'd be afraid that the quality of the electrical wiring in your house couldn't support such a thing and you'd go up in flames while fast asleep, then this is a perfect substitute.

My mom gets credit for the first ever Expat What to Bring Tip. Having lived the majority of the last thirty years overseas, my mom rocks when it comes to knowing what to bring and what not to bring. And I can tell you, I'm glad I listened.

A $10 hot water bottle.

If you are like me, when it's cold in your house, you are cold. And your bed is cold. And when you put your cold body in the cold bed, you are so cold that you can't fall asleep until 3 am. And if you are like me, that's no good for anyone.

Fill this puppy up with hot water, slip it into your bed half an hour before you plan to hit the proverbial hay and you'll never have a better night's sleep. Well, that is if you live in Dushanbe, have no gas, and have leaky windows.

Mountains and Bok Choi


Winter is slowly making its way to Dushanbe. In the past week we turned on the heat, fired up the new diesel heater and started shrink wrapping the windows to keep the drafts out.

Earlier in the week the temps dipped below freezing and we woke up to gorgeous snow covered mountains.


But the freezing temps meant that my baby bok choi needed to be harvested - stat! My baby bok choi is more like toddler bok choi, actually. It spent a bit more time in the ground than required.

If you want some pretty instant gratification in the garden, grow baby bok choi. They thrive in my big galvanized steel bins -- I'm not sure how'd they fair in the anemic soil of are garden though.

When it came to cooking the bok choi I chose simplicity. I almost went Asian with soy sauce, sesame oil and ginger, but in the end decided to go with olive oil and salt and pepper.

After cleaning it up and pulling it apart, I chopped the stems into bite sized pieces and roughly chopped the leaves. In a pan with heated olive oil I sauteed the stems for a few minutes, then added the tops with a splash of water. Once cooked I topped it off with salt and pepper. So so good.


Mix this in with Spicy Thai One Pot and off you go. Dinner's made.


Thursday, November 5, 2009

Beef Tenderloin on Ciabatta Rolls


I had some thawed beef tenderloin and this big batch of bread dough in the fridge this morning just asking to be made into thinly sliced roasted beef on freshly made ciabatta rolls.


The dough is from Artisan Bread in Five Minutes a Day. It's the master recipe, which requires absolutely no kneading and hangs in your fridge until you are ready to pull off a grapefruit-sized chunk and make yourself some bread. In fact, it's recommended that you don't wash the bin that your bread is in when you make the next batch as it enhances the sourdough flavor. No kneading and no dishes! My kind of breadmaking.

This book came on the heels of the Mark Bittman's life-altering No Knead Bread, which I think would be a fine substitute for this bread.

This has been in the fridge for about a week now and you can see the gorgeous air bubbles forming.


In this case, I wanted to make individual ciabatta rolls. With wet hands pull off a chunk.

Form six balls and let them rest for 20 minutes.


While the dough is resting, put a cookie sheet pan in a 400 degree oven to pre-heat for 20 minutes. I'd use a pizza peel if I had one, as the book recommends. But this seems to work just fine.


Once the dough has rested, shape the balls into small rectangular-ish shapes. Again, wet hands help to manipulate the dough. A quick dusting of flour on top and they are ready to go in the oven.


After about 20 - 25 minutes in the oven, they're a perfect shade of brown and nicely crisped on top.


Now on to the tenderloin. Rinse it with water, pat dry and place in a pyrex baking dish.


Season to your liking. I used a grill seasoning, making sure to really coat the meat evenly so that each slice will have a flavorful crispy edge.


Preheat a saute pan with olive oil, until almost smoking. Carefully lay the tenderloin into the pan, making sure you lay it away from you so you don't splatter yourself with hot oil. Trust me on this one.


Rotate it until all sides are evenly browned - very browned, I suggest.


Once all sides are browned, put the tenderloin back into the oven, which you turned up to 425 when you took the bread out.


Bake until the thermometer reaches 140 for medium rare. Or, if you are in our part of the world where it's hard to break the habit of over cooking things to try to prevent Tajik Tummy, then by all means, follow me to 160.


It's true that meat continues to cook after you take it out of the oven. See? 170 a few minutes later.


While the meat is resting for at least ten minutes, move on to the sandwich. Slice open a ciabatta.


Grab your condiments of choice. Caramelized onions. Blue cheese. Spicy arugula. Had I had any of those on hand, I would have surely gone that route. However, this was the best I could do. Locally procured wasabi sauce.


Spread one side of the roll with the spicy wasabi sauce, top with thin slices of the beef and dig in.

Simplicity at its best.